


Push Notifications are short messages, alerts, and information sent from third-party applications that pop up on a user’s phone, Tab, or desktop, nudging them to take specific actions. Push notifications aid in sending updates on products and services, or create a general awareness to users through some pop-up messages nudging users to take some action. This enhances advertisement in the business sector.
Native Notify is a push notification platform for sending push notifications to Flutter and React Native applications that feature:
- Sending push notifications to cross-platform applications (Android and IOS)
- Sending Mass Push Notifications to app users
- Sending data with push notifications
- In-app notification sending system to subscribed users.
In this article, we’ll set up an application to receive notifications, to show how to use Native Notify.
Setting up Notifications
Before creating our application, Let’s set up our notification platform. Head over to Native Notify and click on “Get Started Now”.
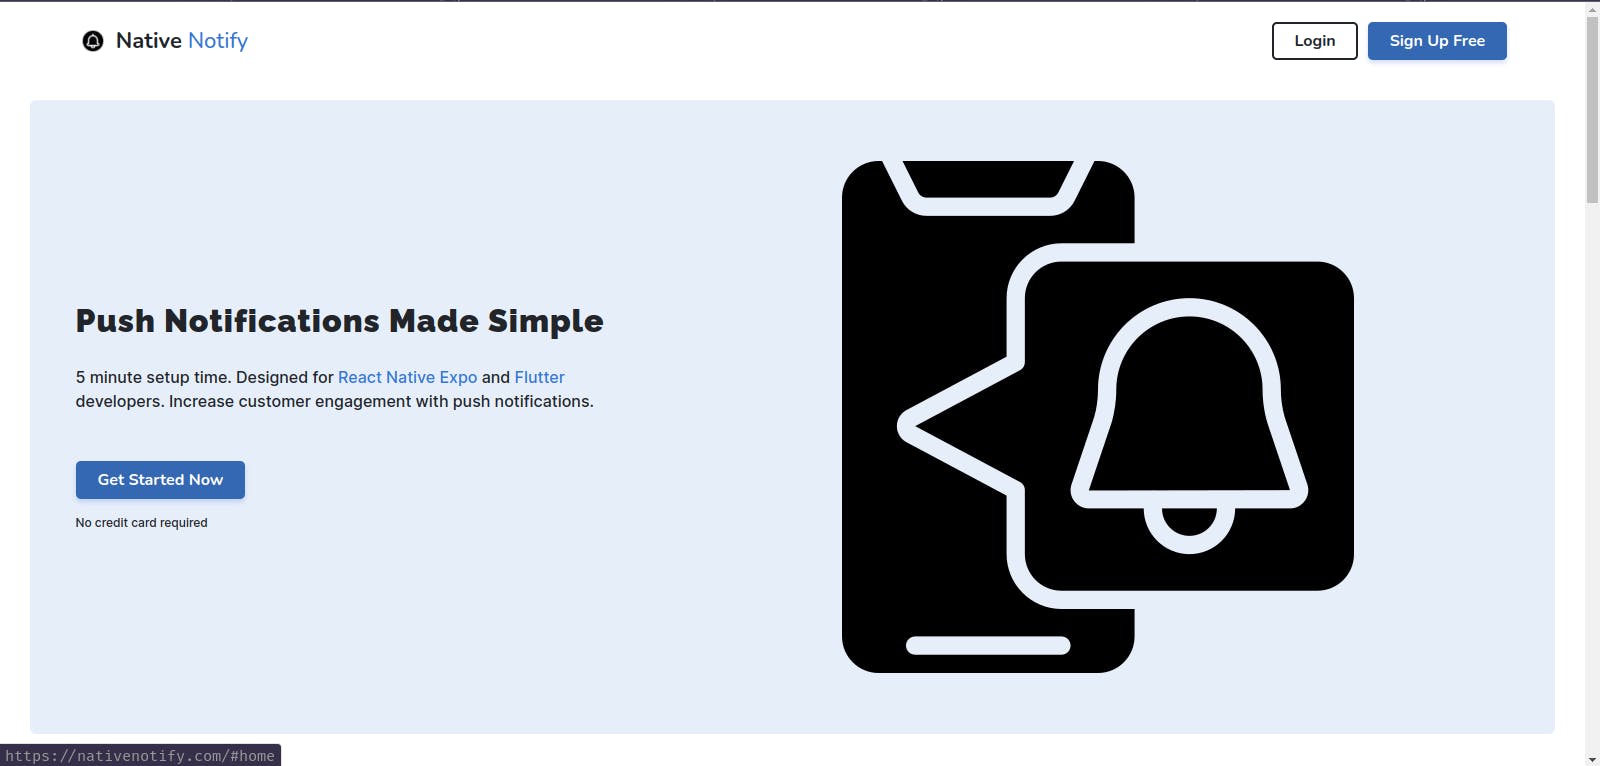
Native Notify doesn’t require card details to sign up.
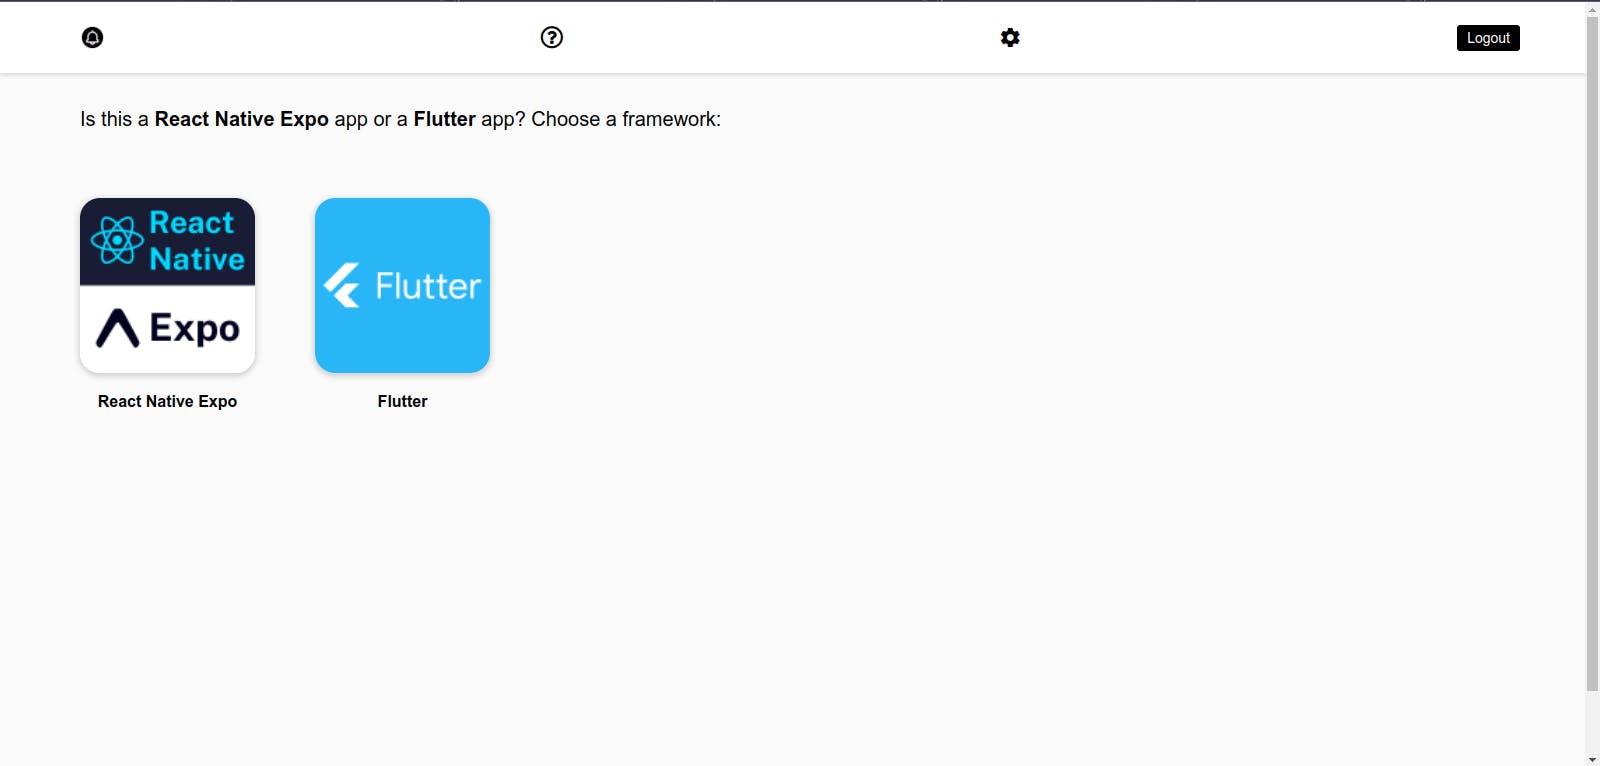
After Signing up, click on “Create An App” to get started and select Flutter as your framework.
Creating our Flutter application
To create the app, go to your preferred directory and run the command below in your terminal.
flutter create notify_app
cd notify_app
Open the pubspec.yaml file and add native_notify below under the cuperino_icons or run flutter pub add native_notify.
name: notify_app
description: A new Flutter project.
publish_to: 'none'
version: 1.0.0+1
environment:
    sdk: ">=2.17.0 <3.0.0"
dependencies:
    flutter:
    sdk: flutter
    cupertino_icons: ^1.0.2
    native_notify: ^0.0.13 # Add this package
dev_dependencies:
    flutter_test:
    sdk: flutter
    flutter_lints: ^2.0.0
flutter:
    uses-material-design: true
Configuring our Notify App
Before receiving Push notifications with our application, we need to configure some root files to grant us access to the push notification system.
Android Configuration
Head over to the android/app/build.gradle file. In the android object, upgrade the compileSdkVersion flutter.compileSdkVersion to compileSdkVersion 31. Still, under the android object, upgrade the minSdkVersion flutter.minSdkVersion located in the defaultConfig object to minSdkVersion 21. With all that done, your android object should look like the snippet below.
android {
    compileSdkVersion 31

    ...
    defaultConfig {
        applicationId "com.example.notify_app"
        minSdkVersion 21
        targetSdkVersion flutter.targetSdkVersion
        versionCode flutterVersionCode.toInteger()
        versionName flutterVersionName
    }
}
iOS Configuration
For IOS configuration, head over to ios/Podfile and update platform :ios to 10.0 or higher.
platform :ios, '10.0'
If platform :ios is commented out, do well to uncomment it.
Open Source Session Replay
OpenReplay is an open-source, session replay suite that lets you see what users do on your web app, helping you troubleshoot issues faster. OpenReplay is self-hosted for full control over your data.
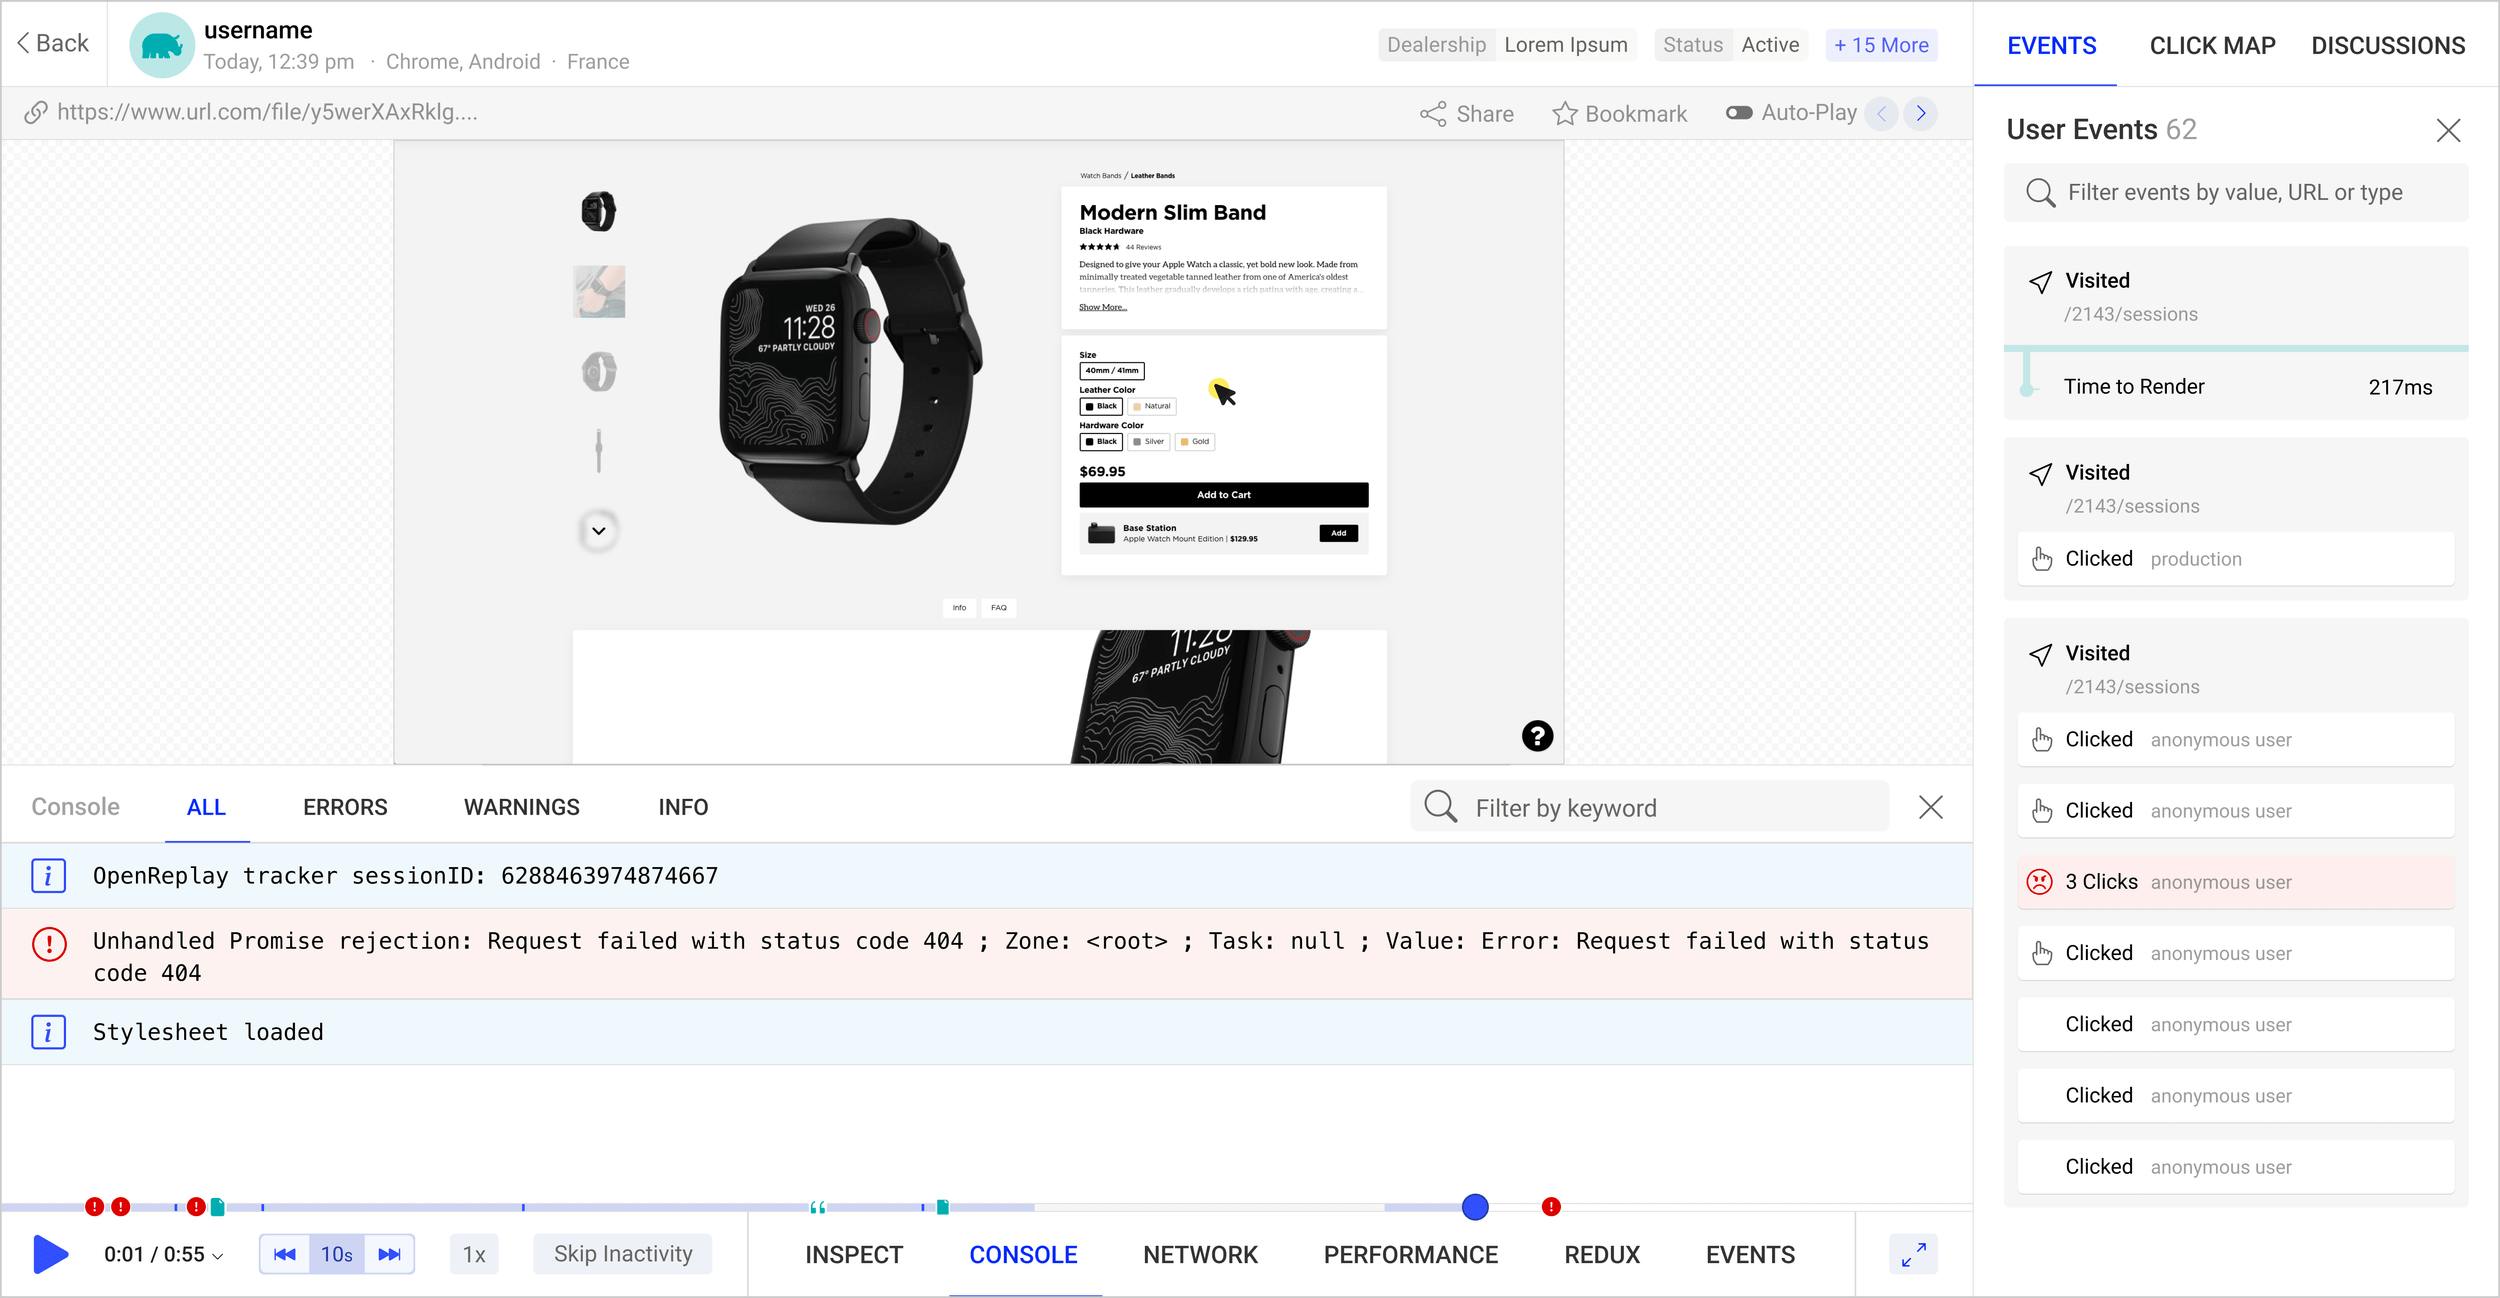
Start enjoying your debugging experience - start using OpenReplay for free.
Displaying Push Notification
With the platform configurations done, let’s set up our main.dart and start receiving some notifications. Head to the main.dart file in the lib folder and update the main() function.
import 'package:flutter/material.dart';
import 'package:native_notify/native_notify.dart';
void main() {
    WidgetsFlutterBinding.ensureInitialized();
    NativeNotify.initialize(appId, appToken, null, null);
    runApp(const MyApp());
}
Based on the code block above, we imported the native_notify package into the main.dart file then we initialized it in the main() function, making it run on initialization of the application. The NativeNotify.initialize method requires an appId and an appToken, which are provided in the NativeNotify guide. Do not remove the two null parameters in the NativeNotify method. The appId and appToken are given on the NativeNotify dashboard on their Official site.
Sending Push Notifications
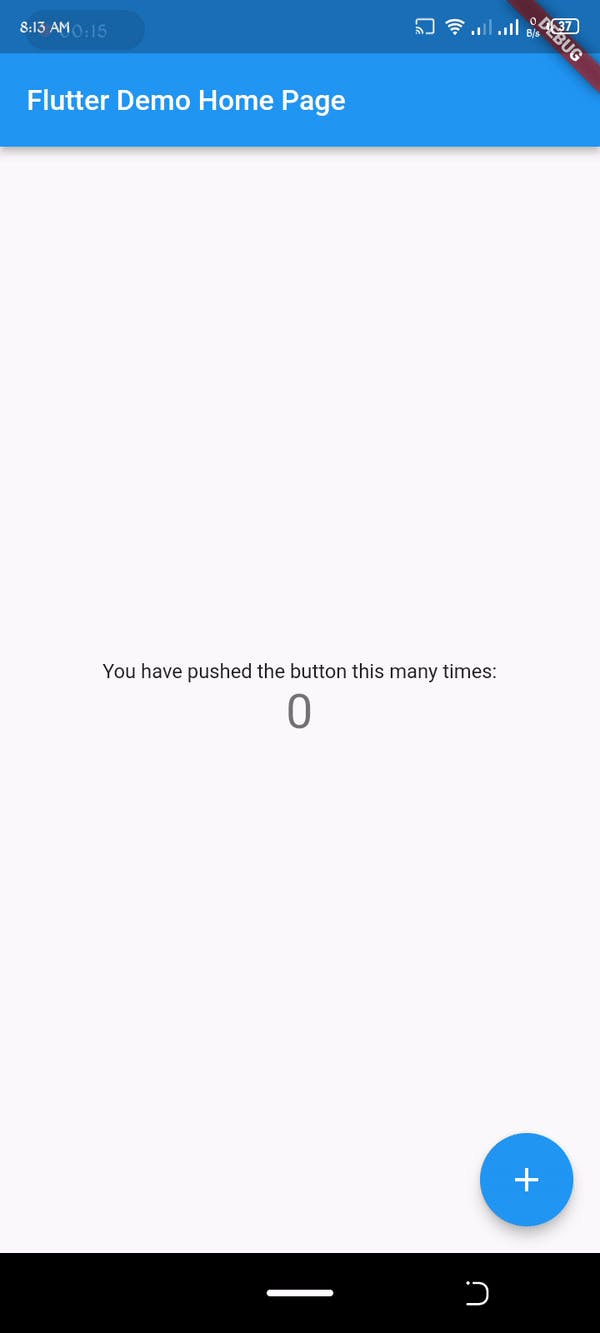
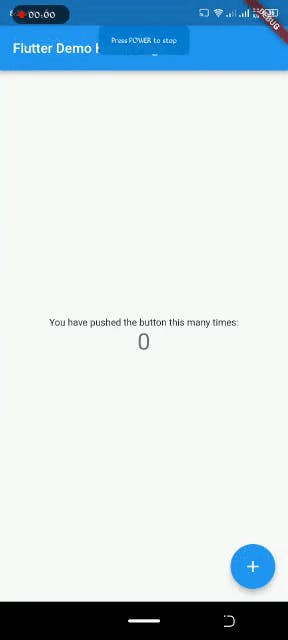
With all the configuration and setup, let’s start sending push notifications. First, run the application on an emulator or actual device using the command in a terminal.
flutter run
The command above will build the Flutter default counter app and install it on your device. If all configurations were successful, you’d see a NativeNotify success message on the terminal. After building the application, head back to the Official Native Notify site and click on the Send symbol on the left tab bar.

Now, send a push notification by entering the Title and Notification message.
Sending Big Pictures
The Push notification was a success. Now let’s send a push notification with some big pictures. Still, on the Send tab, click on “Advanced Settings.”
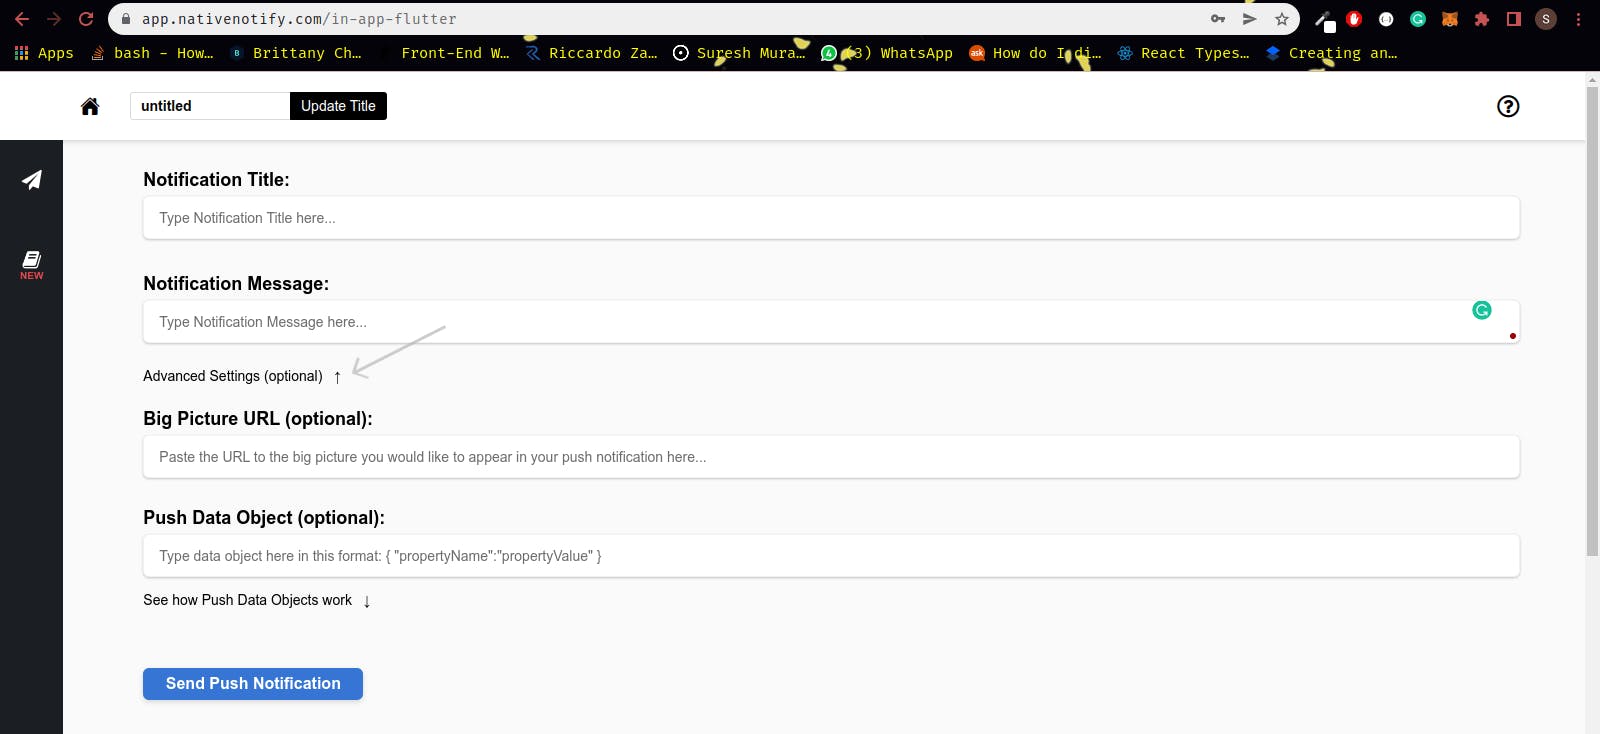
Fill in the Title, Message and then provide an image URL for the Big Picture URL. We’ll be sending the data below.
title --> New Anime Picture !!
message --> This is Kurosaki Ichigo
big Picture --> https://imgix.ranker.com/user_node_img/50081/1001610696/original/to-shatter-fate-photo-u1?auto=format&q=60&fit=crop&fm=pjpg&dpr=2&w=650
The Push Data Object is used when trying to send JSON information about the notification to the user. This doesn’t show on the notification but aids in redirecting to the in-question page question when the notification is clicked.
Conclusion
Push Notification is a very interesting and magnificent way of sending out brief pieces of information and awareness in Mobile development. In this tutorial, we’ve been able to set up our push notification system, integrate it into our application, and test it out. Congratulations!!
Resources
Here is the link to the source code on Github
